


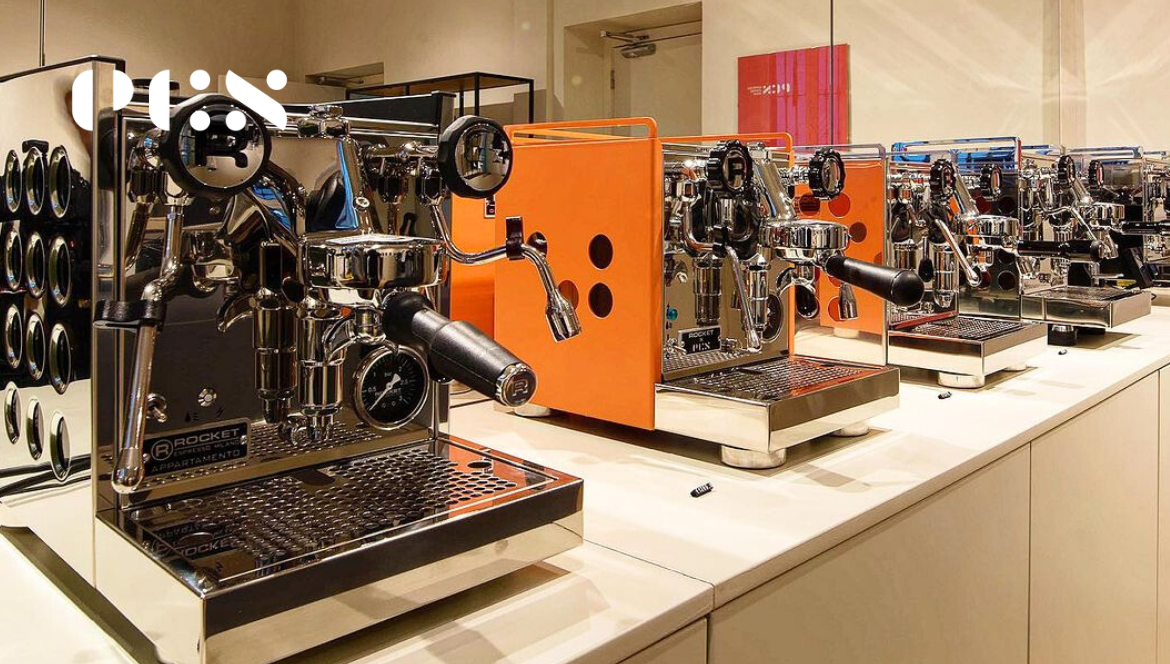
Comparing two of Italy's finest dual-boiler espresso machines the La Marzocco Linea Mini R and the Rocket R58 Tune...
Please, visit the correct shop for your location:
USA Site

-
 La Marzocco Linea Mini R vs Rocket R58 Tune : A Home Barista ComparisonRead more2026-06-24
 -
 Dose-to-Yield Ratio Explained: How to Dial In the Perfect Espresso Every TimeRead more
Mastering the espresso dose-to-yield ratio is one of the fastest ways to improve shot consistency and flavour. This...
2026-06-16 -
 How to Dial In Your Coffee Grinder for a Perfect Espresso ShotRead more
This comprehensive guide explains how to dial in a coffee grinder for better espresso extraction, covering...
2026-06-15 -
 Heat Exchange vs. Dual Boiler Espresso Machines: Which is Right for Home Use?Read more
This guide explains the key differences between Heat Exchanger (HX) and Dual Boiler espresso machines to help home...
2026-06-15 -
 Flat Burr vs Conical Burr Grinders: What's the Difference?Read more
Explore the key differences between flat and conical burr grinders for espresso, including flavour clarity, grind...
2026-05-18 -
 Why Your Coffee Grinder Matters More Than Your Espresso MachineRead more
Learn why the coffee grinder matters more than the espresso machine when making quality espresso at home. This guide...
2026-05-18 -
 Semi-Automatic vs Fully Automatic Espresso Machines: Pros & ConsRead more
Learn how to clean a coffee grinder properly with this practical step-by-step guide for burr and blade grinders....
2026-05-18 -
 How to Clean Your Coffee Grinder: Step-by-Step GuideRead more
Learn how to clean a coffee grinder properly with this practical step-by-step guide for burr and blade grinders....
2026-05-18 -
 What is Pressure Profiling and Why Does It Matter for Espresso?Read more
Espresso pressure profiling is a technique that allows baristas to control how water pressure changes throughout the...
2026-04-21 -
 How to Choose Your First Home Espresso Machine in the UKRead more
Choosing your first espresso machine is simple. Focus on pump pressure, boiler type, ease of use, and consistency....
2026-04-21
Blog categories
Search in blog

How to Clean Your Coffee Grinder: Step-by-Step Guide
Properly cleaning your coffee grinder is one of the most overlooked steps in both home and cafe brewing. It is also one of the most important. Old coffee oils and fine grounds build up inside every grinder over time. These residues turn rancid, mix with fresh coffee, and quietly degrade every shot or cup you make. Even the best beans won't help if your grinder is dirty. This cleaning guide covers both burr and blade grinders. It clearly walks through each step and explains what espresso grinder maintenance involves beyond a simple brush-out. If your coffee starts tasting flat, bitter, or slightly off, check the grinder first.
Why Regular Grinder Cleaning Matters More Than Most People Realise
Coffee beans contain natural oils that carry flavour and aroma. While fresh, these oils enhance your cup. Once exposed to air, though, they oxidise quickly. Inside a grinder, these oils coat the burrs, burr chamber, chute, and grounds container during every session. Without regular cleaning, new coffee passes through a film of rancid residue left from previous uses.
Dirty grinders cause bitterness and flat, muddy coffee. In espresso, this effect gets worse because pressure amplifies every flavour. A dirty grinder quickly lowers cup quality.
Cleaning your grinder extends its life. Compacted grounds increase burr friction and strain motors. Clean grinders keep calibration and last longer.
What You Need Before You Start
Before starting the grinder cleaning process, gather the necessary items so you don't have to stop midway.
A stiff grinder cleaning brush or burr brush is the key tool. Many good grinders come with one included. If yours did not, use a firm pastry brush or a small toothbrush as substitutes. You will also need a dry microfibre cloth and a small flathead screwdriver if your grinder uses retention screws on the upper burr.
For purging between deeper cleans, food-safe grinder cleaning tablets are the most practical option. These are widely available from coffee equipment suppliers and can be used on your normal espresso grind setting without disassembly. Dry, uncooked white rice is sometimes used as an alternative purging method, though it is generally considered less effective than purpose-made tablets and should only be used if no tablets are available.
Never use water on internal metal parts unless the manufacturer explicitly states that components are dishwasher-safe. Water can rust steel burrs or warp plastic inside the grinding chamber.
Step-by-Step: How to Clean a Burr Coffee Grinder
Step 1: Empty and Unplug the Grinder
Run the grinder empty for a few seconds to clear any remaining grounds. Then unplug it from the power source. Never disassemble or brush a plugged-in grinder.
Remove the hopper and empty it fully. Any beans left inside will fall into the burr set when you lift it out.
Step 2: Remove the Upper Burr
Most flat and conical burr grinders allow you to remove the upper burr without tools. Lift and rotate it counterclockwise. Some models require you to loosen one or two retention screws first. Check your grinder's manual if the burr does not release with a simple twist.
Place the burr face down on your cloth to prevent scratches to the cutting surface.
Step 3: Brush the Burrs and Burr Chamber
Use your cleaning brush and work around the cutting teeth of both burrs in short, firm strokes. Focus on the valleys between burr ridges, where grounds gather most densely. On the upper burr, also clean the top face and collar where it meets the adjustment ring.
Brush outward from the centre toward the grounds chute inside the burr chamber. Then use a folded dry cloth to wipe the chamber walls. This picks up any loosened residue after brushing.
Step 4: Clean the Chute and Grounds Container
The exit chute is often the most neglected part of grinder maintenance. Fine grounds and oils gather here over time. This causes clumping and restricts flow. Use your brush to clean the chute from both ends, then finish by wiping with your cloth.
Empty and dry the grounds container after each cleaning session. If a stale coffee smell lingers, wash the container with warm water and a small amount of dish soap, then dry it thoroughly before reattaching.
Step 5: Reassemble and Run a Purge Dose
Reattach the upper burr and align it carefully with the burr seat. Turn clockwise to lock it in place. Replace the hopper. Before brewing good coffee again, run a small purge dose of 10 to 15 grams through the grinder. This clears any brush fibres or loose particles from the burr set. Discard this first dose before brewing.
How to Clean a Blade Grinder
Blade grinders are simpler in design but collect oils and fine grounds just as readily. Because the blade is fixed, cleaning focuses on the bowl and the underside of the lid.
Add one tablespoon of dry, uncooked rice to the empty bowl. Run the grinder for about 30 seconds. The rice acts as a mild abrasive. It picks up oils and loosens fine grounds from the blade and bowl surfaces. Discard the rice when finished. Wipe the interior thoroughly with a dry cloth. For a deeper clean, follow with a damp cloth, then dry the interior completely before using again.
Never submerge the grinder base or allow water to reach the motor housing.
Using Grinder Cleaning Tablets
Grinder cleaning tablets are efficient for regular espresso grinder maintenance between deep cleans. Ground like coffee, they absorb oils and sweep particles from the burrs and chute.
The process takes less than two minutes. Add the recommended number of tablets to the hopper according to the product instructions. Grind them on your normal espresso setting. Then run a small dose of coffee through the grinder to clear out any tablet residue before brewing. Most tablet manufacturers suggest this process weekly for daily-use home grinders, and more frequently in busy café environments.
How Often Should You Clean Your Coffee Grinder?
Home brewers who use grinders daily should brush them out every 2-4 weeks, use tablets weekly, and wipe down containers and hoppers every few days.
Espresso and commercial grinders used in café environments should be cleaned weekly as a minimum, with daily wipe-downs of the grounds chute and container as part of the end-of-service routine.
Signs that cleaning is overdue include uneven grind texture, clumping coffee, stale smells from the grounds container, or shot times that shift without any recipe change.
Frequently Asked Questions About Coffee Grinder Cleaning
Q: Can I wash burrs with water?
A: Only if the manufacturer of your specific grinder states that burrs are safe to wash. Most steel burrs will rust if they get wet and are not dried immediately and thoroughly. Dry brushing is the safest approach for the vast majority of home and commercial grinders.
Q: How do grinder cleaning tablets work?
A: Grinder cleaning tablets are made from food-safe grains that grind into a fine powder. As they pass through the burr set, they absorb coffee oils and sweep accumulated particles from the grinding path. After running the tablets, a short purge with regular coffee clears any remaining tablet residue before brewing.
Q: Does cleaning the grinder change the grind setting?
A: Removing and replacing the upper burr can occasionally introduce a minor shift in calibration. After reassembly, run a test shot or brew and adjust your grind setting by a small increment if needed. This is entirely normal and can be corrected in a few seconds.
A dirty grinder is a common cause of persistent bitterness in espresso, even when using fresh beans. Rancid oils can coat the burrs over time, affecting the taste of every shot. Performing a thorough cleaning usually resolves bitterness without requiring other recipe modifications.
Q: What is the difference between cleaning a flat burr and a conical burr grinder?
A: The process is largely the same. Conical burr grinders are generally easier to access and produce less static during grinding, which makes cleaning slightly less messy. Flat burr grinders, particularly commercial models, have larger grinding surfaces and require more detailed brushing across a broader area. Both types require removing the upper burr, brushing both burr faces and the chamber, wiping down the chute and container, and running a purge dose after reassembly.
Related posts
-
 How to properly store coffee
If you, too, are a true coffee enthusiast, meticulously selecting the varieties you like best and eagerly...Read more
How to properly store coffee
If you, too, are a true coffee enthusiast, meticulously selecting the varieties you like best and eagerly...Read more -
 All about a good tamping
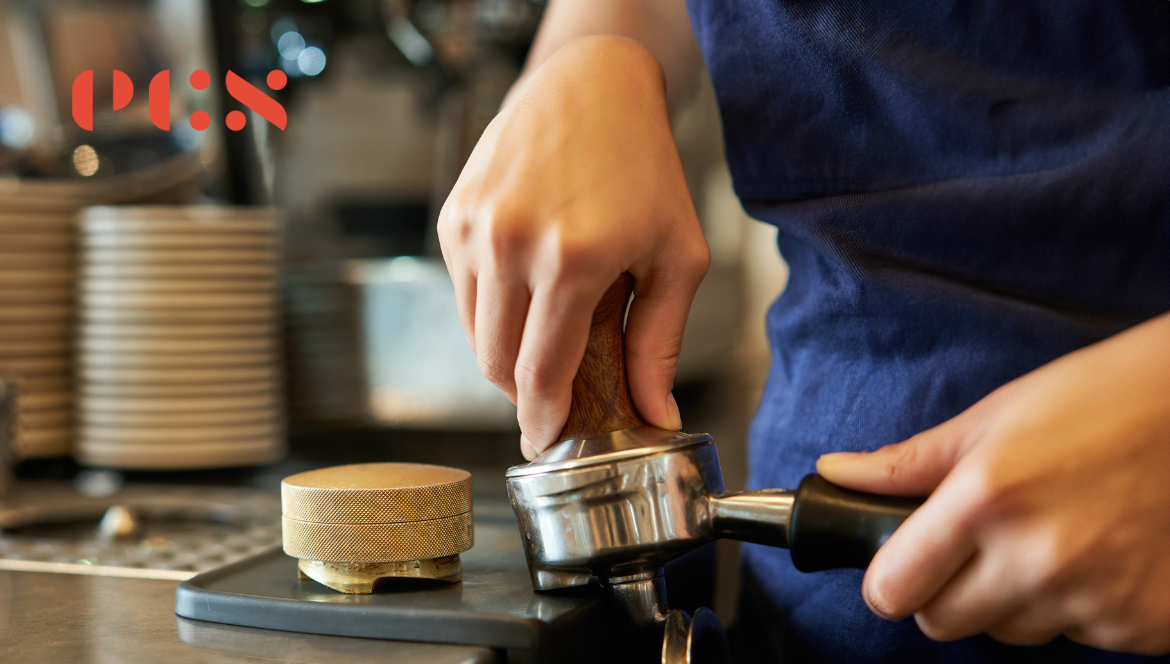
To make good coffee, it is important to have the right equipment, quality coffee and not only. It is also necessary...Read more
All about a good tamping
To make good coffee, it is important to have the right equipment, quality coffee and not only. It is also necessary...Read more -
 The first store Espresso Coffee Shop in Italy!
We are excited to announce the opening of our Temporary Shop in Milan, an must-visit meeting point for all coffee...Read more
The first store Espresso Coffee Shop in Italy!
We are excited to announce the opening of our Temporary Shop in Milan, an must-visit meeting point for all coffee...Read more -
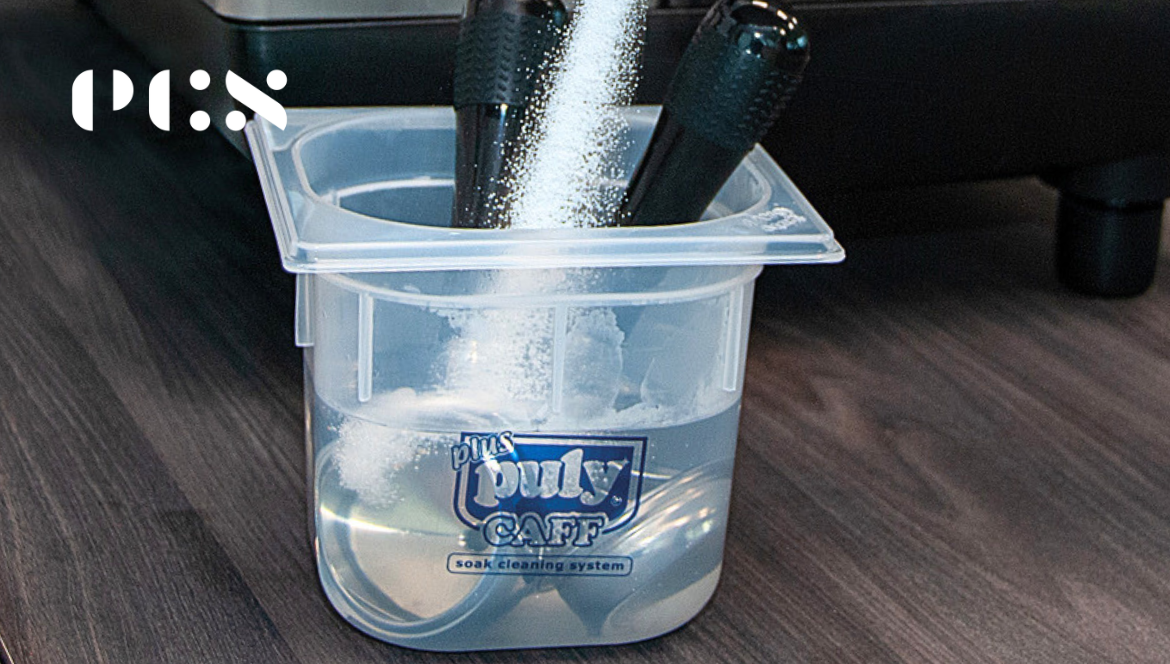 Spring cleaning? It's the perfect time to clean your coffee equipment, too
Spring is in the air, bringing the desire to renovate, tidy and... clean! Besides sprucing up your home and closets,...Read more
Spring cleaning? It's the perfect time to clean your coffee equipment, too
Spring is in the air, bringing the desire to renovate, tidy and... clean! Besides sprucing up your home and closets,...Read more -
 Single Boiler vs Dual Boiler vs Heat Exchanger: Which Espresso Machine is Right for You?
Choosing between single-boiler, heat-exchanger, and dual-boiler espresso machines comes down to how you brew, your...Read more
Single Boiler vs Dual Boiler vs Heat Exchanger: Which Espresso Machine is Right for You?
Choosing between single-boiler, heat-exchanger, and dual-boiler espresso machines comes down to how you brew, your...Read more
Leave a comment